Pages

Showing posts with label Before and After. Show all posts

Thursday, March 15, 2012

Before and After: The Master Bedroom

Next stop in the Before and After series: the master bedroom!


Before

The master bedroom was the second most frustrating wallpaper removal of the bunch.  (The kitchen won the most frustrating wallpaper removal title.  We eventually gave up and put up new drywall for a completely fresh start!  But that's a story for another post...)

Anyway, here's what the bedroom looked like before:

That's right, two types of wallpaper (hideous, hideous wallpaper), a separated by border.  *sigh*

Here's the view from the corner between the two windows, looking toward the door:


During

The bottom half of the wallpaper came off pretty easily, but the top was another story.

We eventually gave up on removing every speck of wallpaper and settled for sanding it down.  I'm pretty sure the wallpaper removal in this room was responsible for the shooting pains I got from my pinkies to my shoulders for MONTHS afterward.  (I really wish I was exaggerating about that.  I'm not.)


Here's the room with our bedroom furniture moved in, before we added curtains:


And before we put the trim back on the doors:

The color we chose for the walls was Benjamin Moore's Quiet Moments.  The room is on the small side (14x11), and it doesn't get a lot of natural light, so I wanted to keep the walls on the light side without going completel neutral.

After

Here's the room with curtains and artwork.  Above my nightstand is a mini Breakfast at Tiffany's poster, and above Glen's nightstand is an original drawing of Spider-Man, signed by Lee Weeks.
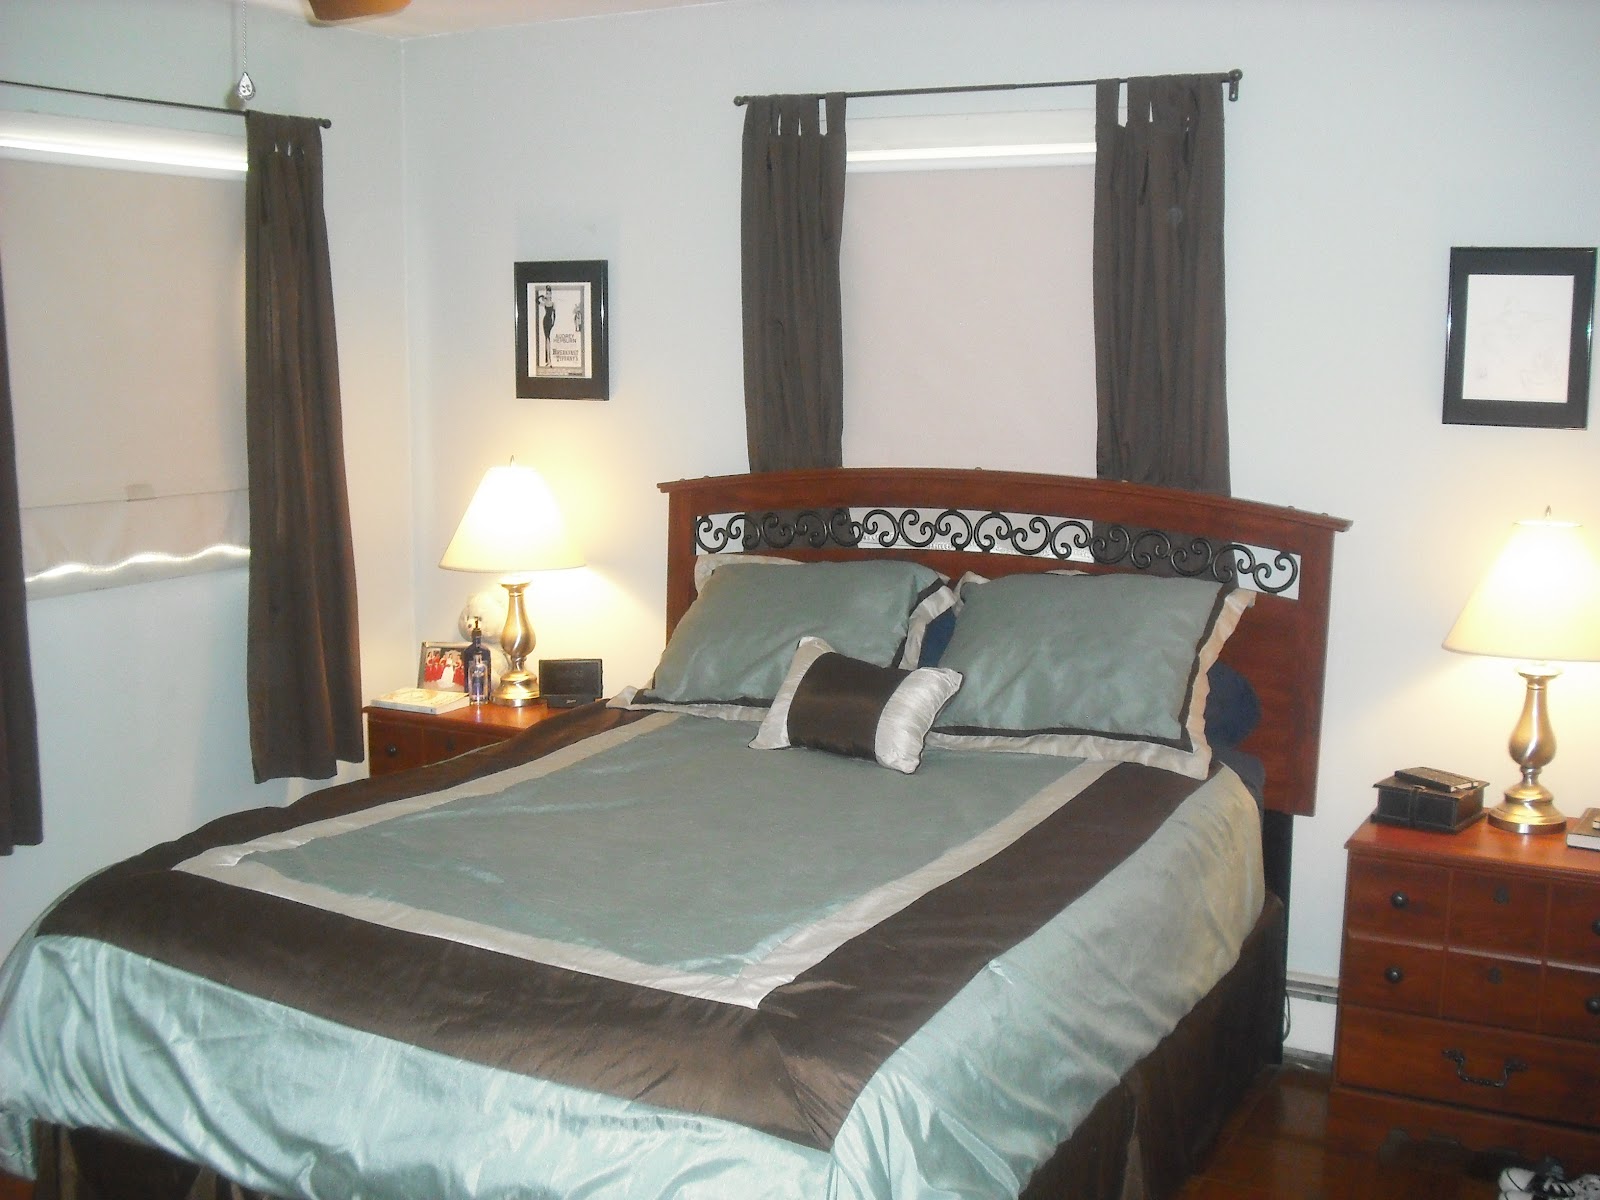
Is it ridiculous that the mirror is still leaning against the wall because I can't bring myself to put more holes than necessary in the wall?  It took a lot of work to get it looking not-horrible!!


And here's a look from another angle:

And what became of that awful wallpaper?  My wonderful husband actually managed to do something cute with it!  We closed on the house a couple of weeks before our third anniversay, so he so he saved one of the roses from the wallpaper, framed it, and gave it to me as an anniversary gift:

Of course, the wallpaper that was the biggest pain in the butt to remove also turned out to be the one that had a romantic story behind it.  ;-)

Monday, March 12, 2012

Before and After: A Mini Laundry Room Makeover

I managed to make good on another of my goals from last week's post!

Be warned though, my laundry room is a scary, scary place.  I refuse to go in there barefoot, because the floors are so old and grimy, that no amount of cleaning will ever be enough.  They will hopefully be replaced soon.  There is even MORE hideous wallpaper.  These photos will spare you the horror that is the water-damaged and partially-missing ceiling tiles, however. ;-)

Here's the laundry room door, which leads to the back yard:


And here's where the toilet is in relation to that door:

That little wall really doesn't provide much privacy, as evidenced by this view from outside the door:

I decided to go with a window film, which would allow light to get in, while still providing a reasonable amount of privacy.

It was a somewhat frustrating evening, which resulted in me having to run to Lowe's to pick up an extra 6.5' long roll of window film after I cut out the top right pane backwards, but here's the final product from inside the laundry room:

And from outside the laundry room:

So much better. :-)


Now the laundry room just needs a new ceiling, new floors, wallpaper removed, a fresh coat of paint, and a new utility sink... *sigh* I have a lot of work ahead of me, don't I? ;-)


Thursday, March 8, 2012

Before and After: The Dining Room

I think the dining room just may be one of my favorite rooms in the house.  Next to the bathroom, it's probably the most dramatic difference.


Before

This is the third set of "before" photos I've shared here.  This is also the third set of "before" photos that involves wallpaper.  It doesn't get any better from here. ;-) 


During

Fortunately, the wallpaper came off really easily:

I honestly have NO idea why there were so many folding chairs in the dining room!
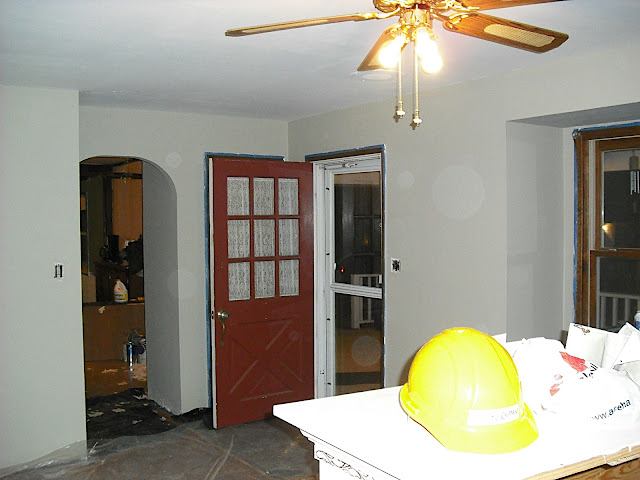
Here's the dining room with a fresh coat of paint, before we removed the painter's tape and added chair rails:


It took some convincing to get my husband on board with the green, but I fell in love with Benjamin Moore's Adirondack green, but I'm glad he eventually agreed, even if it was just to appease me.

The chandelier in the photo above was pretty cheap and tacky, so we picked up something that was a bit more our style:


We added new curtains, in a black and white damask:


The white hutch in the photo above was from our apartment.  It now provides additional storage space in our laundry room, but for the time being it served as a china cabinet, until we got this:


After

When I took pictures this week, I had a bit of trouble with lighting, so bear with me on this. ;-)

First I tried using natural sunlight, but the only way to get a shot of the dining room was to stand in the den and face the window.  I tried to balance the sunlight from the window with a brighter light in the den.  There are some pretty crazy shadows in this shot, but the colors are pretty true to life:


Here's one with the shades closed.  Not nearly as shadowy, but the colors are a bit off, and the light from the chandelier is kind of ridiculous.


The new chandelier in action:


So there you have it:  Easily one of my favorite rooms in the house. :-)


I think I'll take a vote on which room you'd like to see next: master bedroom or den/library/music room?  Tell me in the comments!

Thursday, February 23, 2012

Before and After: The Living Room

During my last Before and After post, I shared photos from our bathroom remodel.  The changes we made to the living room weren't quite as dramatic, but it was still a significant improvement.  If you've been reading my blog for awhile, you'll have already seen the "after" photos, but the "before" photos will give you an idea of what we were working with.

Before

The wallpaper wasn't completely unbearable, but I am so not a fan of borders!  Or broken window treatments, for that matter.


One advantage in the living room (and also in the bedrooms, as you'll eventually see) is the gorgeous parquet floors.  A quick coat of Rejuvenate had them looking brand new.


During

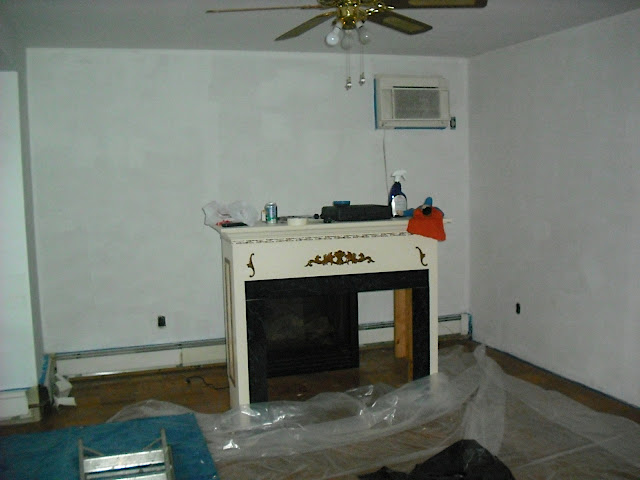
Taking down the wallpaper in the living room was mercifully easy (unlike the master bedroom and the kitchen, but that's a story for another time!). After that we primed: 


Yes, that is a a stuffed Superman doll in the photo below. It used to belong to Glen, but now it belongs to Elvis. ;-) 


We painted the walls Senora Gray by Benjamin Moore: 


After
 
At first we just used our old couches from our apartment, which were tan and didn't really go well with the whole gray, red and espresso color scheme, but about a year ago we replaced them with gray ones that match the tone of the room much better: 


And even more recently, we gave the fireplace a facelift.  It's not terribly evident in these pictures, but the base color went from cream to bright white.  We also got rid of the embellishments on the front and painted the formerly-honey-colored trim black. 


We nearly originally planned to get ride of that recliner next to the fireplace because we never use it, but Elvis seems to like napping there, so it stayed.  Because contrary to what we like to believe, our dog is apparently the boss of us. 

And last, but not least, the fireplace, which did not work when we both the house nearly 3 years ago, got fixed just in time for this past Christmas:


Up next: the dining room!

Thursday, January 19, 2012

Before and After: The Bathroom

My husband and I moved into our house nearly 3 years ago.  It was a diamond in the rough, to say the least.  I've never seen so much wallpaper in my life.

Since I knew we'd be putting a lot of work into the place, I thought it would be fun to document the before, during and after, and make an album on Shutterfly or something, to document all the work we put into the place.  Well, I did a decent enough job of documenting before and during, but not so much the after.  I got as far as taking pictures of the bathroom and stopped.

I decided it might be fun to do a series of "Before and After" posts for each room of the house, but I won't lie, I have two ulterior motives:

  1. This will force me to clean up each room, and put on the finishing touches that we never quite got to, like the baseboards (or lack thereof) in the kitchen.
  2. I will have to take the rest of those photos, and maybe I'll finally make that album!
So without further ado:

Before 

I actually haven't looked at these photos in awhile.  This first one actually isn't as bad as I remember, it's just REALLY not our style.


Really, really not our style.  Also, that wallpaper?  It's not even on drywall, it was on these weird, plastic panels attached to the wall.  More on that later.


But this?  This is just scary:


During *

Want to know what was behind that weird plastic paneling?  THIS:


Nice, huh?  And what's even nicer?  When there's water damage behind the tub.  Thank goodness we decided to gut the bathroom, or we wouldn't have found it.


This meant we had to rip out the drywall on the other side of the tub.  Here's the view from Glen's office:


New drywall:


And in the spirit of today's post on Budgets Are Sexy, I opted to refurbish the vanity and cabinet, instead of replacing them:


After

Our color scheme was white with black trim and chrome hardware. Here's the new door and trim:


Clearly, the hardware in the tub had to be replaced, as did the tub surround:


Here's the refurbished vanity, with a coat of black paint, new hardware, and a new faucet:


 We replaced the mirror and lighting with a bit more stylish:


In the photos the difference in lighting isn't very dramatic, but the main difference is that the finish is much shiner on the metal and the shades are much sleeker.  The old shades we frilly and hideous.

Here's the view looking in from the hallway:


We still need to replace the floor.  The grout is in bad shape and tiles periodically pop up and stick to our feet.  Not cool.  The plan is to wait until we remodel the laundry room, which also needs a new floor, and hopefully get them both taken care of in one day.


*  This remodel would not have been possible without my extremely handy father-in-law, who was responsible for gutting the bathroom, putting up the new drywall and tub surround, and installing the new faucets.  He helped us out a lot with fixing up other areas of the house, too, but he is almost single-handedly responsible for the bathroom remodel!
Related Posts Plugin for WordPress, Blogger...